


The Office suite recently introduced a new AutoSave feature for OneDrive and SharePoint users. Probably with good intentions, Microsoft – like so often – did this exactly the wrong way: There is no option to disable it permanently and for all files at once. You can only do it for each file individually. What is so bad about that, you might ask. The problem is that every time you open a file that is located in your OneDrive or SharePoint folder, it saves every change you do. So what if you just want to look something up in an old file? Or you want to use an old file, do some changes and save it under a new name?
AutoSave vs. AutoRecover
So, AutoSave, you might say, didn’t I have this option for a long time already? Actually, there is a similar option which is still available in Office. It’s called AutoRecover. AutoRecover saves a copy of you file in a time period which you can define, e.g. every 10 minutes.
My opinion: If the AutoRecover function would work well, it’s a good method to make sure you have some kind of backup of your work. Unfortunately, especially for larger Excel files, it seems to not really work properly. I even gained the impression that the AutoRecover function was the reason for Excel crashing.
How to disable AutoSave for one file only

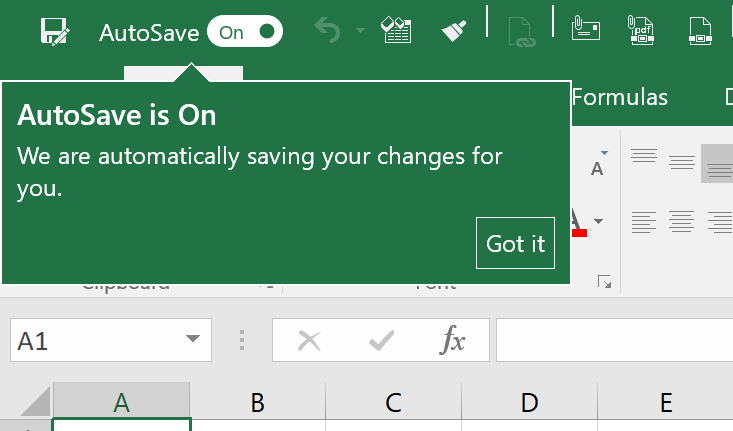
If you only want to disable the new AutoSave function for the current file, just click on the AutoSave button in the Quick Access Toolbar. The first time you use the AutoSave function you might also see a notification is shown on the image on the right-hand side.
If the AutoSave toggle button is missing: Activate it again

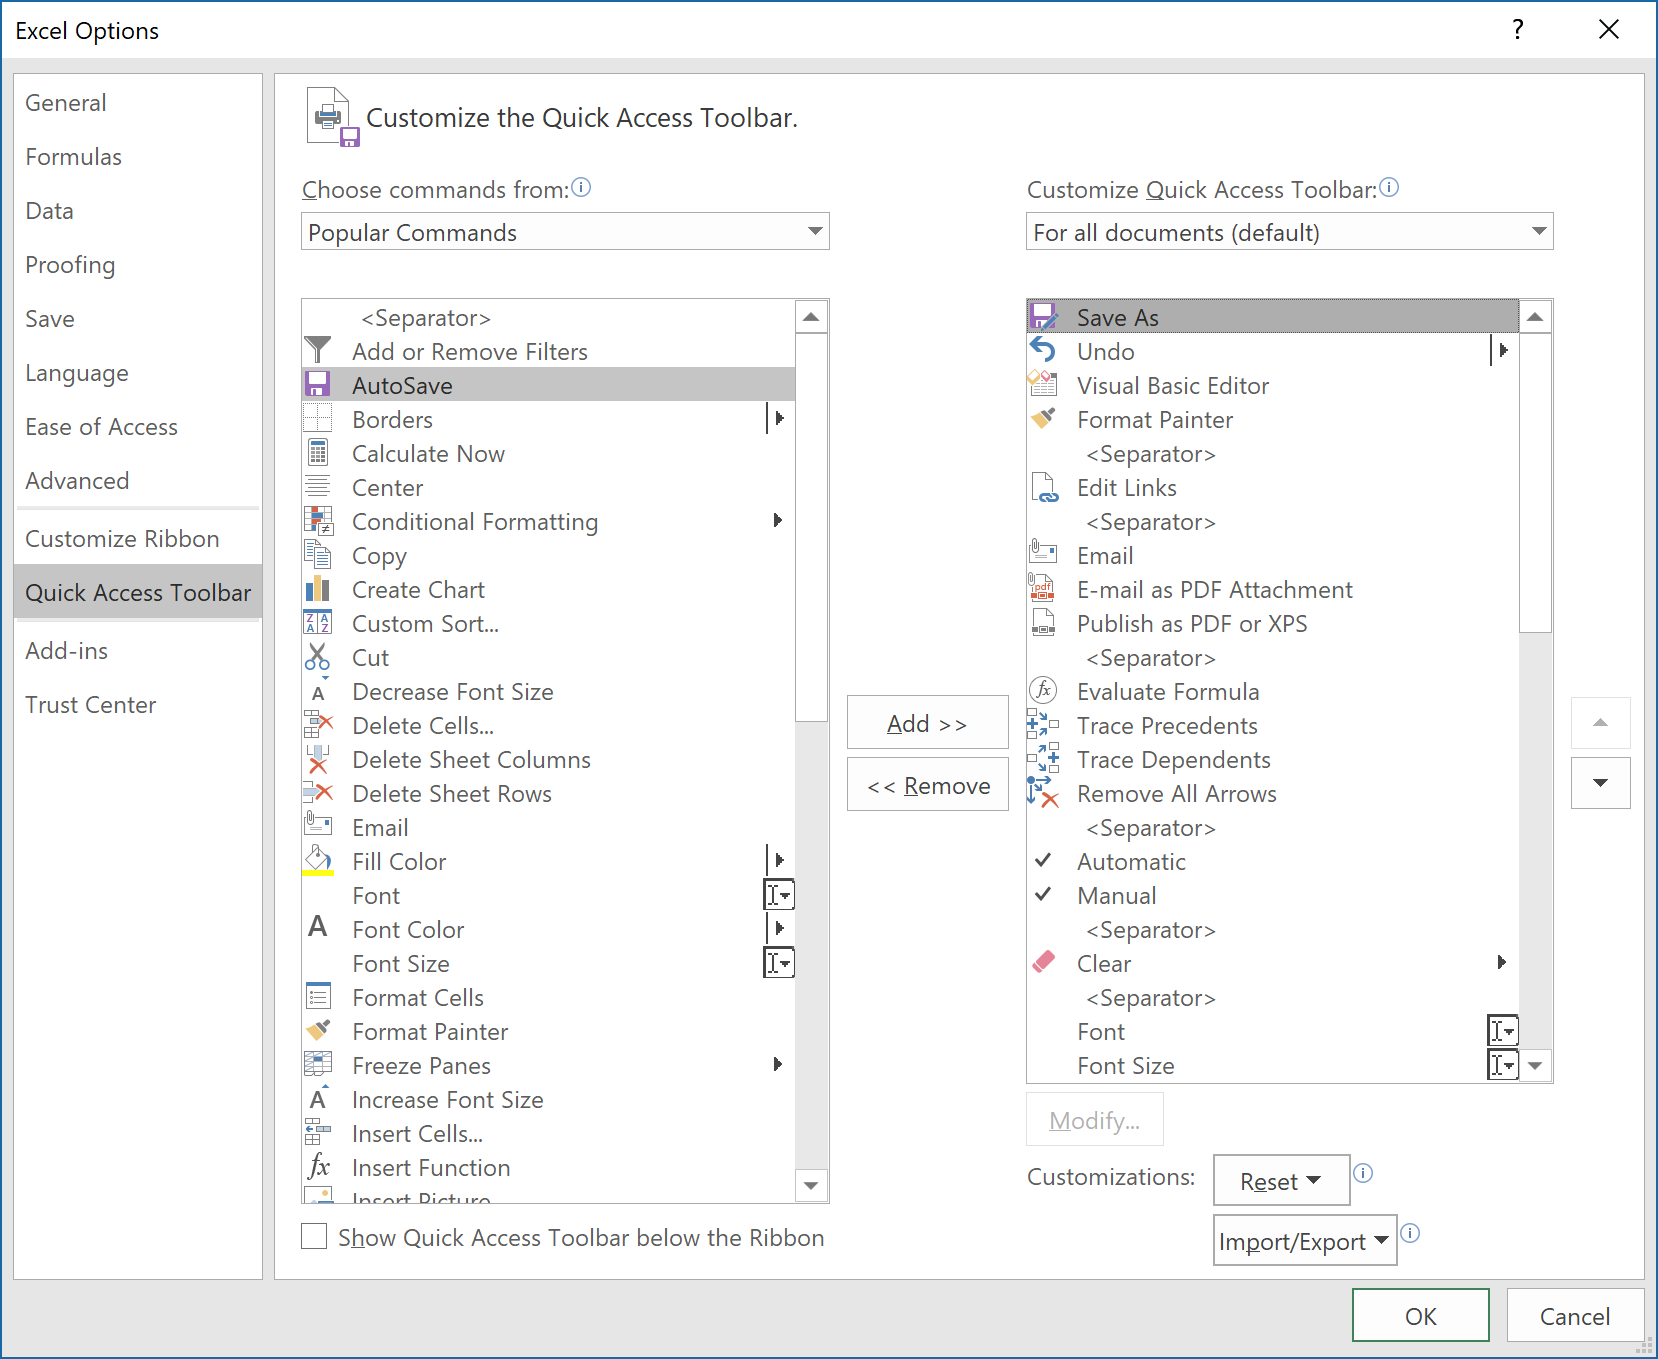
So what if you don’t have the AutoSave toggle in your Quick Access Toolbar? Unfortunately the only option is to add it to the Quick Access Toolbar. In a nutshell right-click on the Quick Access Toolbar, then click on “Customize Quick Access Toolbar”, select “AutoSave” and click on “Add >>”. If you need assistance with the Quick Access Toolbar please refer to this article.
How to disable AutoSave permanently for all files
As mentioned before, there is no built-in way to disable the AutoSave function permanently from within Excel, PowerPoint or Word. However, you can achieve this by adding a value to the Windows registry. One word of caution: Please be careful when editing the Windows registry. Wrong changes can have a major impact on your computer.
There are two options of setting the correct value to the registry. Manually and automatically by downloading and opening a file.
Change the registry manually

Follow these steps for adding the registry entry to disable the new AutoSave function in Excel manually.
- Open the registry. To achieve this, press the Windows key (or click on start) and type “regedit”.
- Press two times Enter to open the registry (and to confirm that the app is allowed to make changes to the computer).
- Navigate to the following folder path on the left-hand side. You can also just copy the following path and paste it in the top bar (but depending on your current version of Office it might not work properly).
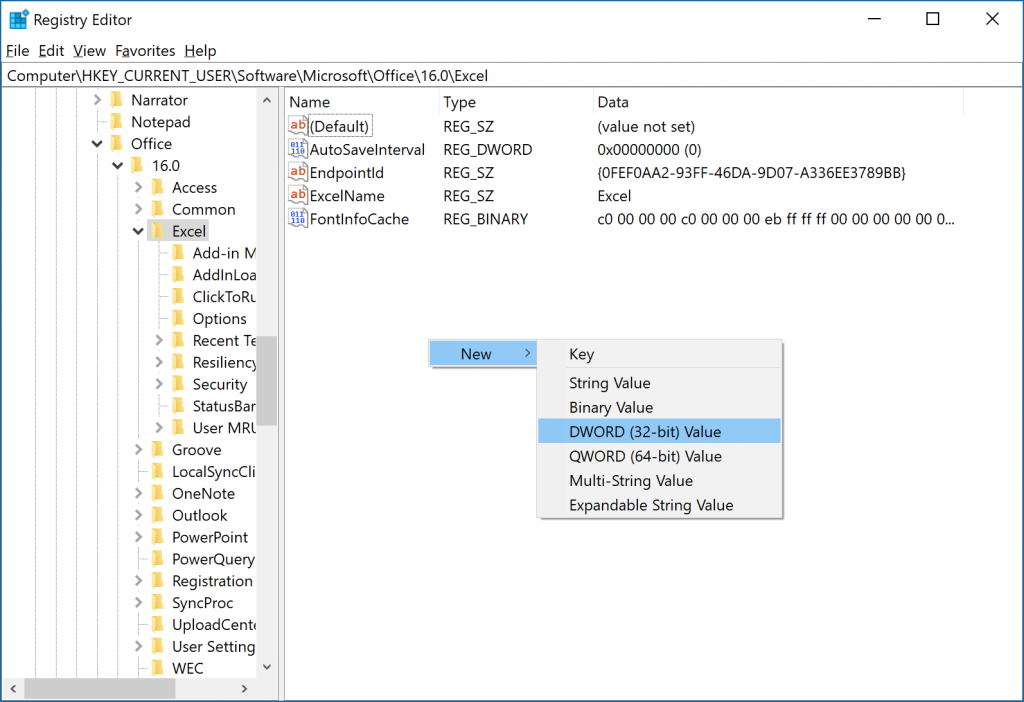
Computer\HKEY_CURRENT_USER\Software\Microsoft\Office\16.0\Excel
- Right-click below the last key available and add a new “DWORD (32-bit) value”.
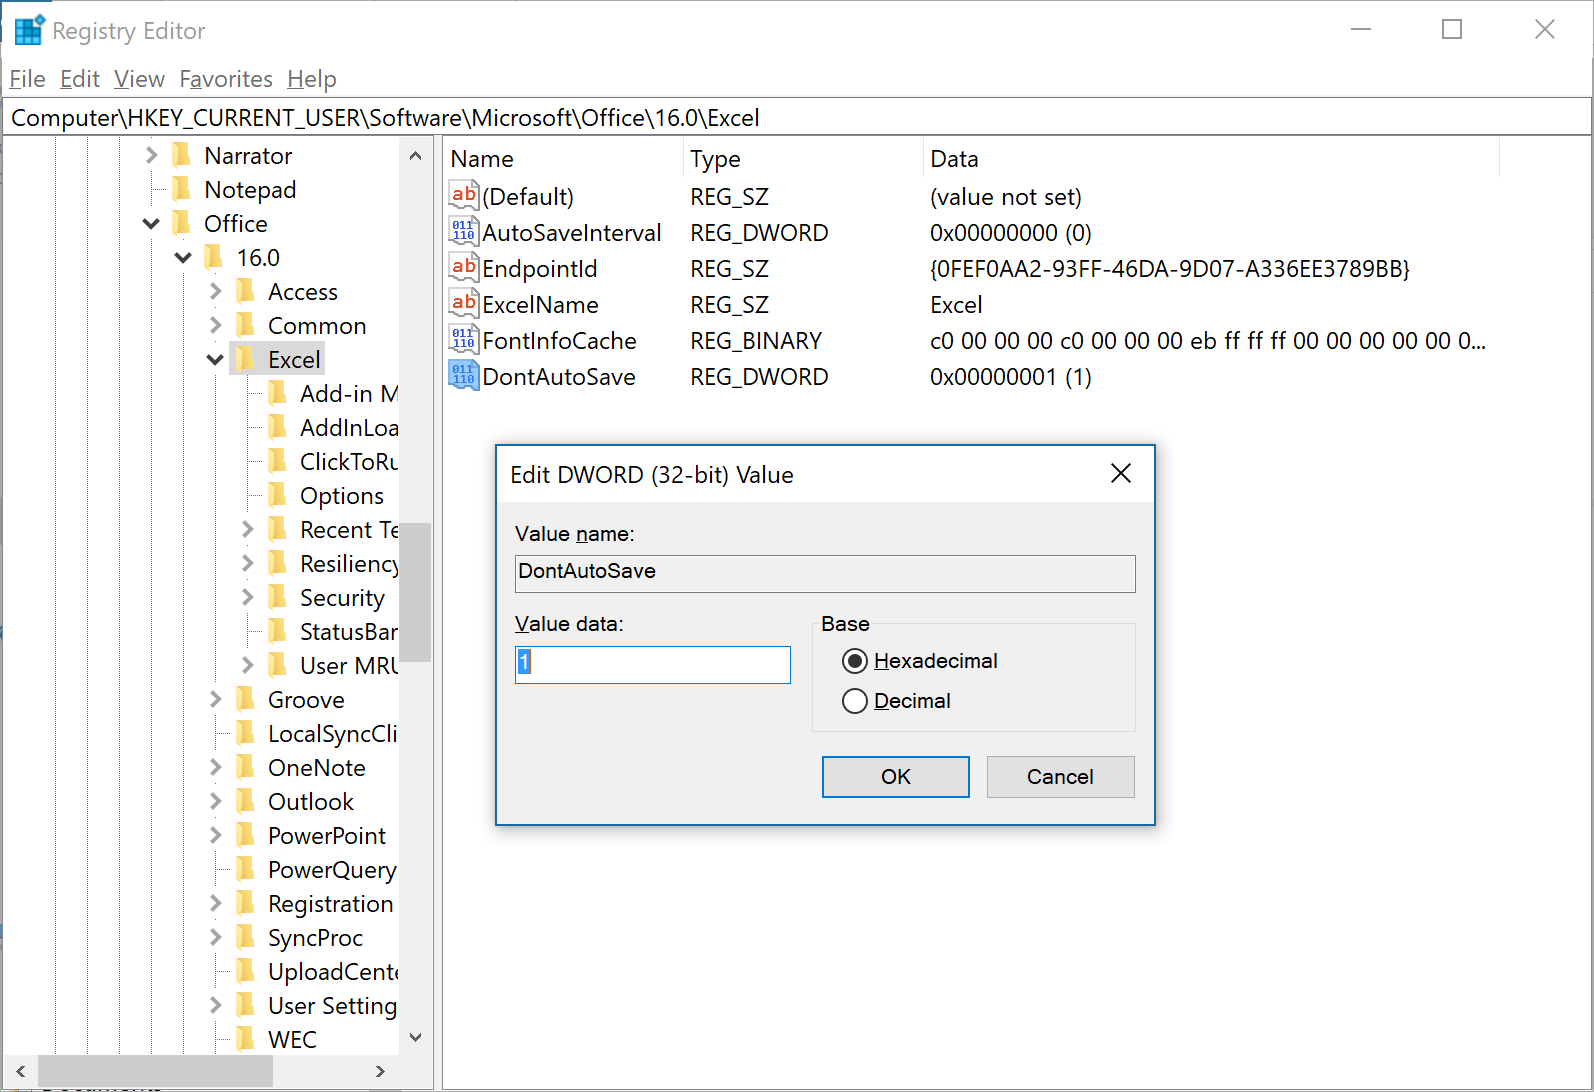
- Rename the new key to “DontAutoSave”.
- Double-click on the new entry in order to change the value. Type 1 (instead of 0).
- Save it and restart Excel.
Please note the following comments.
- If you want to enable the AutoSave function again change the value in step 6 above back to 0.
- For also disabling the AutoSave function in Microsoft PowerPoint or Microsoft Word, replace the last step “Excel” in number 3 above by PowerPoint or Word.
Do you want to boost your productivity in Excel?
Get the Professor Excel ribbon!


Add more than 120 great features to Excel!
Change the registry with a shortcut
If you don’t want to navigate through the Windows registry yourself, we’ve prepared files for you to download. Depending on which Office program you want to disable the AutoSave in, download the respective file below. Open it and confirm the security question. That’s it.
If you want to restore or re-enable the function, use the respective file below.


Please feel free to download all mentioned registry entries below.
| Disable AutoSave for… | Enable AutoSave… |
|---|---|
| Excel | Excel |
| PowerPoint | PowerPoint |
| Word | Word |
| Excel, PowerPoint and Word at the same time | Excel, PowerPoint and Word at the same time |
or download all files as one zip file.