

Let’s enhance your Excel skill with some handy keyboard shortcuts: How to insert a new row (or column) within 1 second without using the mouse?
How to insert rows and columns with the mouse?

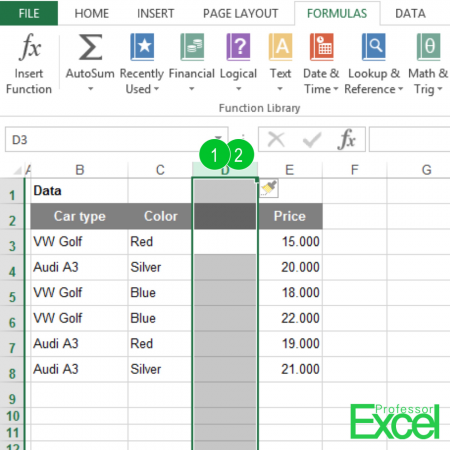
Inserting rows and columns in Excel is quite straight forward:
- Select the row or column you want to insert rows before as in number one in the picture on the right hand side.
- Right click on the column letter. Click on ‘Insert’.
Now your selected column will move right and you’ll get a new column. Please note the following comments:
- The formatting will by default be taken from the column on the left hand side or the row above. But if you click on the small format painter symbol which pops up, you can define the style.
- You’ll get as many new rows or columns as you’ve selected before.
How to add rows and columns with keyboard shortcuts?
There is a faster way of inserting rows and columns in Excel: Using keyboard shortcuts (please also refer to the complete list of keyboard shortcuts in Excel).
- Select the row which you want to insert a new row above it: Press Shift + Space on the keyboard.
- Add a row by pressing Ctrl + ‘+’ .
Inserting a column works almost the same way:
- Select the column which you want to insert a new column to the left of it: Press Ctrl + Space.
- Insert a column by pressing Ctrl + ‘+’.
So, you have learnt 3 shortcuts altogether: Select a row/column with “Shift/Ctrl + Space” and add a row/column with “Ctrl + ‘+’ “. Isn’t it quite easy?
One more comment: Deleting a row or column works the similar way: Select a row or column and delete it by pressing “Ctrl + ‘-‘ “