


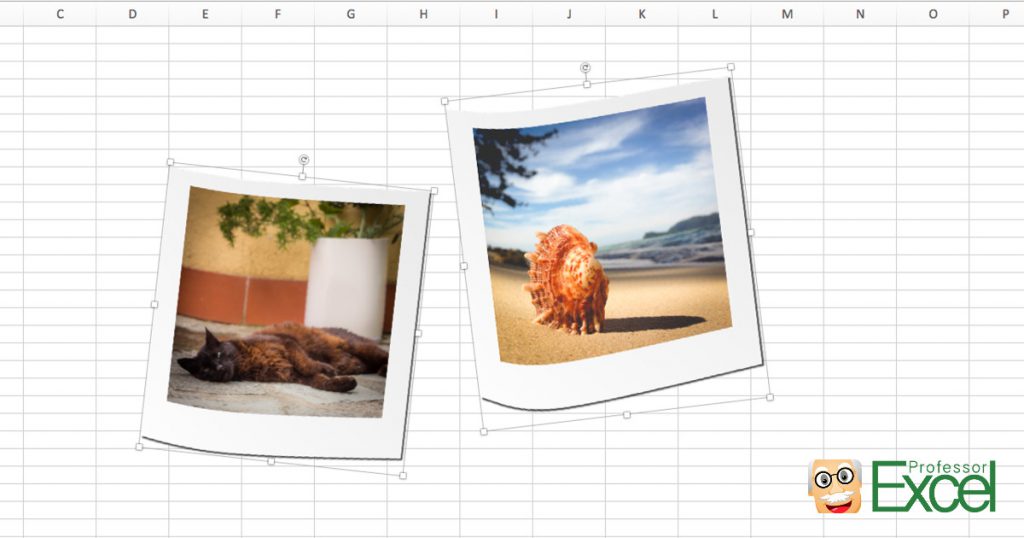
When you copy content from a webpage and paste it into Excel, not only the text and numbers are pasted, but also pictures. As often as not, you don’t want to keep these images for example website logos. They make your Excel file large, hide your data and make you worksheet look messy. Instead of deleting one by one, you can easily select all pictures at the same time. Let’s take a look at 5 different methods.
Method 1: Select all pictures manually
In many cases, the manual way might be the fastest (but most troublesome as well). Hold the Ctrl ![]()
![]()


Method 2: Select all images manually but using the selection pane

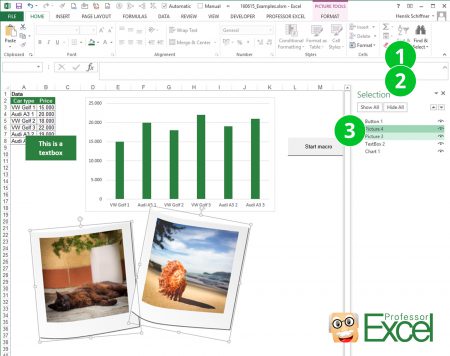
Maybe a little bit more convenient but still manual: Using the selection pane.
- Click on “Find & Selection” on the right hand side of the Home ribbon.
- Click on “Selection Pane”
- Now you can hold down the Ctrl

The difference to method 1 is, that it’s more convenient to select from a list than scroll up and down your whole worksheet.
Method 3: The fast but inaccurate way (Go To Special)

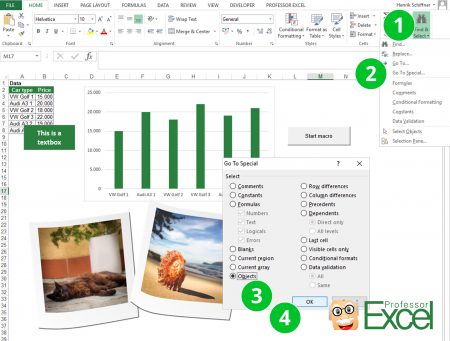
There is a shortcut to help select all images at the same time. With this method you can delete all images once, instead of deleting each picture separately.
- Go to “Find & Select” in the Home ribbon
- Click on “Go To Special”
- Select “Objects”
- Click “OK”
The disadvantage of this method: All objects, e.g. images, buttons, text boxes, are selected. Not only picture. If you don’t have any objects like buttons or charts on your worksheet just go ahead. Otherwise please use any of the other methods
Method 4: The more complicated but accurate way (VBA)
There is a short VBA code (don’t panic, just follow the steps below ;-):
- Go to the worksheet with all the pictures you want to select.
- Press Alt


- Press Ctrl

- Paste this code ActiveSheet.Pictures.Select and press Enter


Method 5: The convenient way (Professor Excel Tools)
This is the most convenient way because you just need two clicks and have the most detailed options: Use our Excel add-in “Professor Excel Tools“.

- Click on “Selection Tools”.
- Then, click on “Select all objects” (all objects, including images, charts, etc. are selected).
Alternatively, only select all images by clicking on “Select all images” or charts by clicking on “Select all charts”.
That’s easy, isn’t it?
Professor Excel Tools also have a second option, if you want to delete all pictures from your complete Excel file:

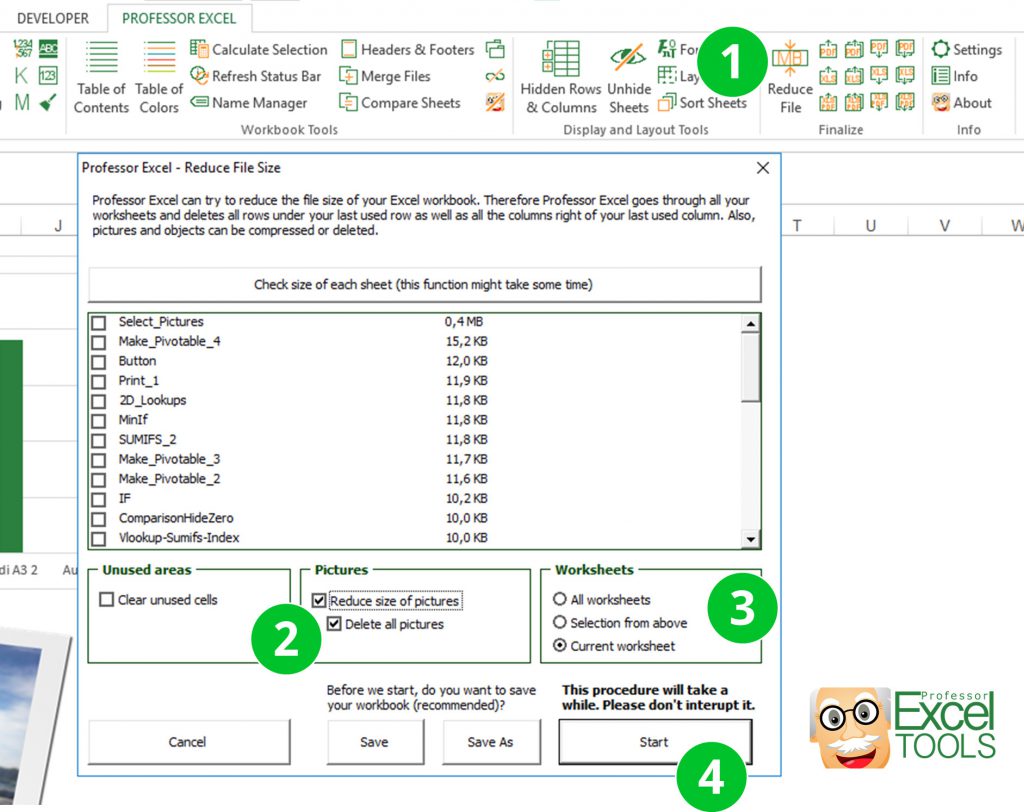
- Click on the “Reduce File” button on the right hand side of the Professor Excel ribbon.
- Set the ticks at “Reduce size of pictures” and/or “Delete all pictures”.
- Set the scope: All worksheets, selection from the list above or just the currently active worksheet.
- Click on “Start”.
You don’t have “Professor Excel Tools” yet? Try it for free – no sign-up, no installation needed (just activate it within Excel). Just download it with the button below.


This function is included in our Excel Add-In ‘Professor Excel Tools’
(No sign-up, download starts directly)
More than 35,000 users can’t be wrong.